5
Aug
Aug
How to remove Windows XP Service Pack 3
Posted by
Sometimes when windows xp service pack 3 is installed some devices may not work as well as they did before the installation. here is a guide to removing Service pack 3 and rolling back to Service Pack 2.
there are 3 types of ways you can remove the Service Pack :
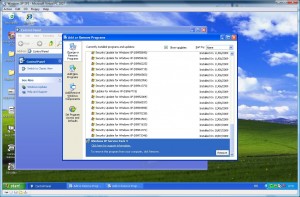
Use the Add or Remove Programs application in the control panel
- Click on the Start button in the bottom left-hand corner of your screen
- Now click on Control Panel on the right had side of the menu
- Select Add or Remove Programs and a new window will appear
- Tick the Show Updates box and scroll down to Windows XP Service Pack 3
- Highlight it and click Remove

Use a removal wizard that is stored in a hidden folder
- Click on the Start button in the bottom left hand corner of your screen
- Click on My Computer and a new window will appear
- Select Tools and click on Folder Options from the drop-down menu
- Click on the View tab at the top of the new window
- Scroll down to Show Hidden Files and Folders and make sure the radio button is ticked.
- Click Apply and OK
- Now open your Hard Disk Drive where Windows is installed usually (C:)
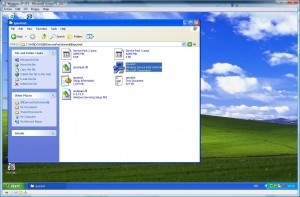
- now open the next folders Windows > $NtServicePackUninstall$ > Spuninst
- Click on Spuninst applacation
- follow Uninstallation Wizard steps and let it restart your computer if needs be.

Restore to an earlier point
- follow our post on how to do a system restore below. make sure you select a date just before you installed Windows XP Service Pack 3.
If you have any problems with these steps or any other problems please don’t hesitate to call one of our qualified technicians and we will be delighted to perform the required steps to deal with your problem.
| Lo-Call 1890 219 219 |Business Hours: Monday – Friday 9:45 to 6:30 & Saturday 9:00 to 12:00 |
Category : Articles
- Bookmark :
- Digg
- del.icio.us
- Stumbleupon
- Redit it
Sorry, the comment form is closed at this time.


